
JAMES BEARD FOUNDATION
Read Morexmas
Buttermilk Pie Dough /
by Judy Kim
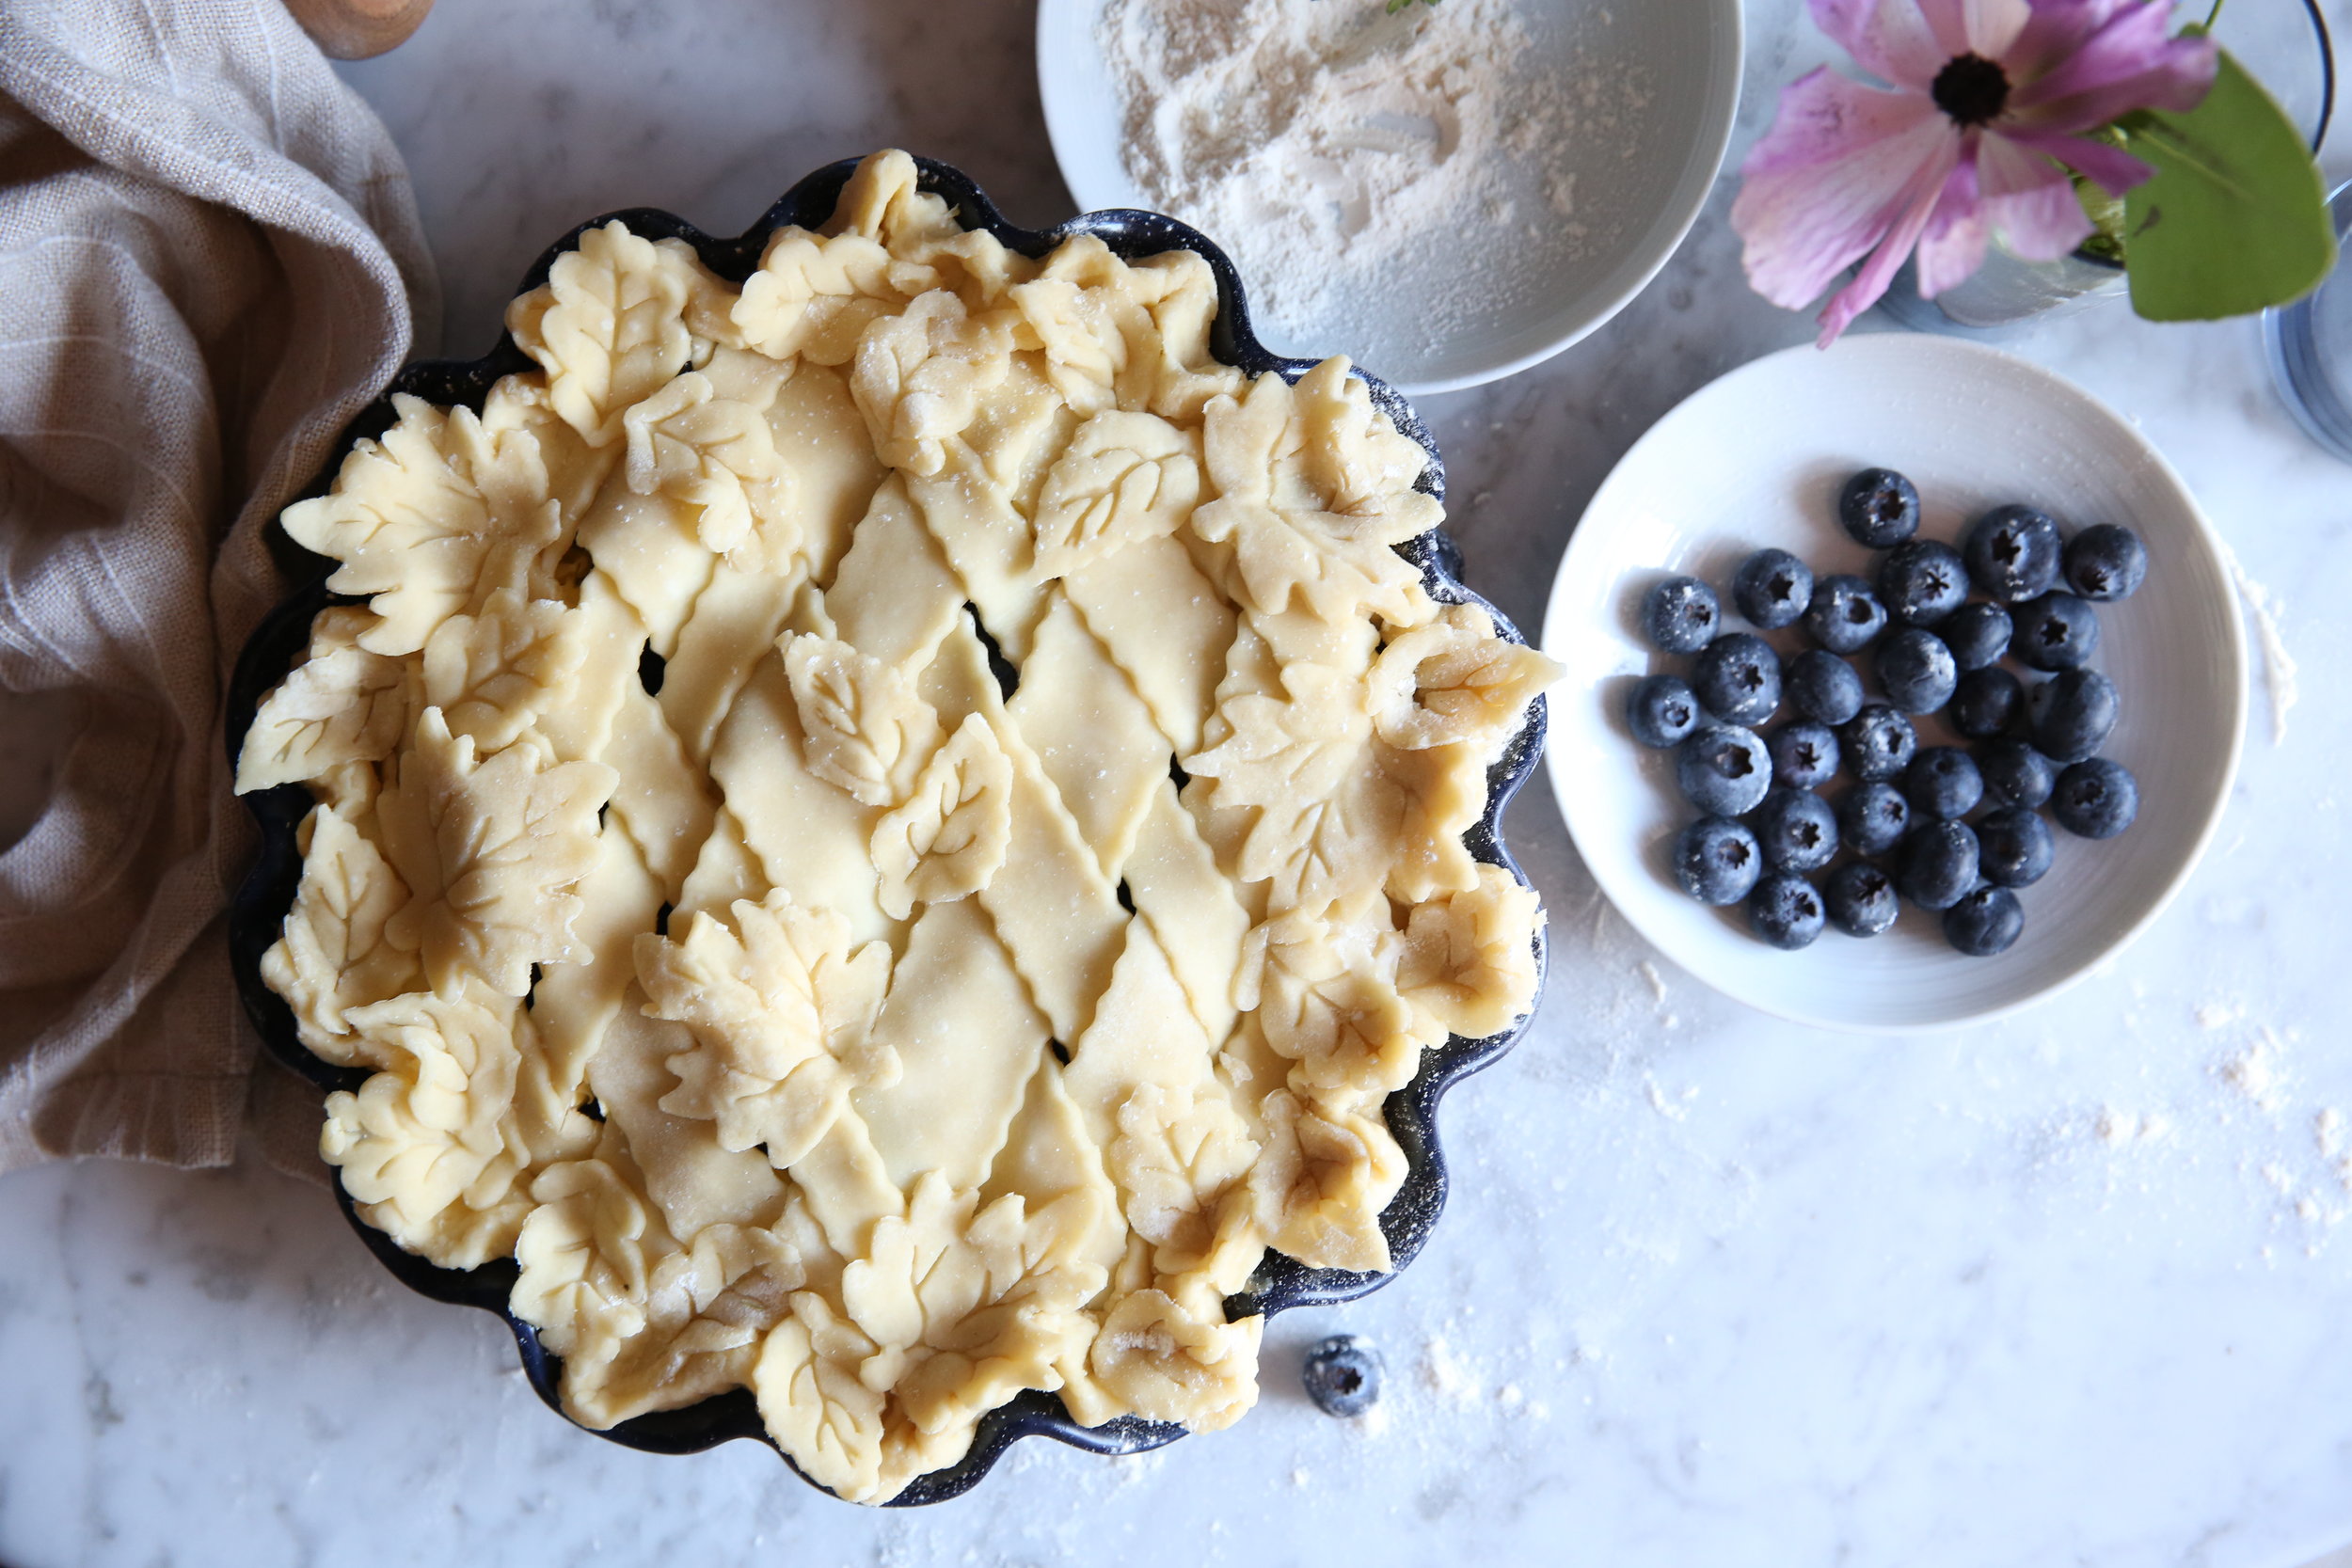
Buttermilk Pie Dough
Yield: Two 8 to 10-inch single-crust pies or one double-crust pie
This is an easy and forgiving recipe for a tender and flaky crust. I also developed it to make more dough than your average double crust pie recipe. Which is very handy if you’re making a lattice or decorative pie.
INGREDIENTS
3 cups unbleached all-purpose flour, additional for rolling
1 teaspoon kosher salt
2 tablespoon sugar
½ pound (2 sticks) unsalted European style butter, cut into ½-inch cubes and chilled
1/2 cup chilled buttermilk
DIRECTIONS
In a large deep mixing bowl combine flour, salt, and sugar. Bring pre-cut butter to room temperature for a few minutes and add all at once into flour mixture. Toss until each piece of butter is coated. Using your hands, break butter into the flour by pressing it between your index finger and thumbs while using a slow snapping or sliding motion. It will create large flattened shards of butter covered in flour. Rotate through all the pieces of butter until they have all been fully flattened out and well coated. There should not be any large pieces of butter left and the mixture should look shaggy at this stage.
Using your hands, level the flour mixture and create a slight well in the center. For even distribution use a pour spout liquid measure to drizzle small amounts of chilled buttermilk all over the center of the flour. Using your hands toss mixture from the side to the top in order to keep liquid away from your hands and from touching the bowl; buttermilk should be incorporated rather than all over your hands or creating wet spots on the bowl. Wait until buttermilk is fully absorbed before each addition. Keep mixing with your hands and eventually squeeze the mixture together in your fist to test the consistency, it should just stick together.
Spread a light dusting of bench flour on a clean surface and knead the dough 5 to 7 turns until it forms a ball. The dough will be slightly wet so add flour as needed to prevent sticking. Don’t be afraid to knead the dough until it’s smooth and all the loose bits are incorporated. Lightly coat the dough all over with flour. Cut the dough in two pieces, about 1/3 and 2/3 ratio. Place cut side down onto plastic wrap; tightly wrap and form the smaller piece into a flattened round about 1-inch thick, ideal for the base of your pie. Form the larger piece into a flattened rectangle also 1-inch thick. Sometimes I even cut the dough into equal 1/3 pieces, it’s often easier to work with smaller pieces and keep other pieces in the refrigerator. Chill for one hour to rest, at minimum 20 minutes. Bring dough to room temperature for a few minutes before rolling. I like to soften the edges of the dough while it’s still wrapped before rolling to prevent cracking.
Dust surface and rolling pin with bench flour. This dough is well hydrated, so no need to be worried about adding bench flour, use when needed. Roll smaller round into a circle between 1/8 to ¼-inch thickness. Roll from the center outwards and lighten pressure of the rolling pin before you reach the edge, this keeps the thickness even. Slightly turn pastry after each roll to prevent sticking and add bench flour when needed. When the pastry begins to flatten out, concentrate the rolling pin movement in an upward and circular motion mimicking the curve of the dough, again lightening pressure before reaching the edge, this helps keep it round. When dough is larger than the size of your pie dish, gently fold into quarters and place inside the pie dish. Ensure it is well centered and nestled into the corners without stretching to prevent shrinkage while baking. Using your dominant hand, take the flat part of your upper index finger and gently press the dough into the base corners of the pie dish, while the other hand gently lifts each edge of dough to ensure it is not being stretched.
For a classic crimp, trim dough ½-inch past the rim, reserving leftover pieces of dough. Fold under and crimp using the thumb of your dominant hand while pushing into the index finger and thumb of your other hand forming a subtle v-shape. Place pie dish and dough trimmings on rimmed sheet pan, and chill in refrigerator while you roll your second piece of dough into a rectangle. Use dough to make a dough crust, long strips for a lattice or use pie cutters to create embellishment pieces. Leftover trimmings from the base crust can be rolled out to be used with a pie cutter.
Pro Tip: Make a double batch of pie dough and label the plastic wrap (I prefer this brand as it is the stickiest and has a convenient slide for cutting) with the date for future use. You'll make your next pie in half the time. Keep dough tightly wrapped up to 5 days in the fridge or up to 3 months in the freezer. Thaw frozen dough in the refrigerator overnight.
Rustic Pear Tart /
by Judy Kim
Rustic Pear Tart
Yield: 1 (10-inch) Tart, 6 - 8 servings
This is a rustic dessert perfect for any occasion, especially because it's easy to make and looks super impressive. I made this last minute for a photoshoot and only had about 90 minutes to make it. I kept the ingredients and steps simple. It's perfect for the holidays when there's never enough time to prepare for a last minute dinner party. If you have pre-prepared pie dough in the freezer, that's a big time saver. You can easily substitute the pears for any seasonal fruit, although I'm partial to these Starkrimson pears. If vibrant fruit isn't available, finish the baked galette with a dusting of powdered sugar for a pretty presentation.
INGREDIENTS
Single crust pie dough, such as Buttermilk Pie Dough
1 /2 teaspoon ground cinnamon
3-4 Starkrimson or red Anjou pears
1/2 teaspoon kosher salt
2 tablespoons granulated sugar
2 tablespoons unsalted butter, cut into 1/2-inch pieces and chilled
DIRECTIONS
Prepare the pie crust recipe, which can be made in advance. Line 10-inch tart pan with parchment paper, leave over hang (see photo for reference) to make it easier to remove later. Set aside.
Before rolling, let the pie dough come to room temperature, about 5 minutes. On a lightly floured surface, roll out round disk to thickness between 1/8-inch and 1/4-inch. Keep dough moving and apply just enough flour to prevent it from sticking. Gently fold into quarters and transfer onto parchment lined tart pan. Gently push the pastry into the corners of the tart pan. Trim pastry with scissors or a sharp paring knife, leaving a 1/2-inch border. Fold excess pastry backwards into the tart pan and press into the sides, it will make a nice imprint from the crimped edge. Chill tart pan in freezer or refrigerator.
Place oven rack in the middle fitted with a Baking Steel or a pizza stone and preheat oven to 375°F. I like that it ensures a crispy bottom.
Prepare pears by cutting around the core into four pieces. Cut vertically parallel to the core and continue around all sides. Carefully slice the pears thinly about 1/4-inch. I recommend a mandoline, used with a protective cut resistant glove, or cut by hand. Keep the slices in groups.
Dust bottom of prepared pastry evenly with cinnamon. (I like using OXO’s Bakers Dusting Wand because it gives great control). I prefer dusting the bottom so you don't cover up the beautiful color of the pears. Arrange pear slices in slightly fanned out groups by keeping one of the pointy ends slightly together (see photo for reference). Alternate directions of the pears until the tart pan is filled. Use more pears for a denser filling. Sprinkle sea salt and sugar evenly all over the pears. Finish with pieces of frozen butter.
Place the tart pan on rimmed half sheet pan and bake directly on the Baking Steel. Bake until golden brown, for about 1 hour. Rotate midway if needed for even browning.
Transfer to a cooling rack. After cooled, lift the pastry out of the pan by holding the parchment. Serve slightly warm or at room temperature.
Red Velvet Cake with Cream Cheese Frosting /
JAMES BEARD FOUNDATION
Read MoreFrench Tart Flan /
JAMES BEARD FOUNDATION
Read MoreSpaghetti With Green Olives, Pancetta And Crispy Lemon Breadcrumbs /
by Judy Kim
Spaghetti with Green Olives, Pancetta and Crispy Lemon Breadcrumbs
Yield: 4 servings
INGREDIENTS
1/4 cup panko breadcrumbs
Extra-virgin olive oil
Kosher salt
1 lemon, zested and juiced
1 cup diced pancetta
2 garlic cloves, grated
1 teaspoon red pepper flakes
1 cup Manzanilla green olives, pitted and chopped
¼ cup finely chopped parsley, additional for garnish
Freshly ground black pepper
2 tablespoons unsalted butter, chilled
10 ounces spaghetti
Flaky sea salt for garnish
DIRECTIONS
In a small sauce pan add panko and enough olive oil to just barely cover. Turn heat to medium-low and stir occasionally until golden brown. This step can take some time and creates very crispy breadcrumbs, don't increase heat or it will likely burn. Drain and transfer to a small bowl. Mix in ½ teaspoon salt and half of the lemon zest; set aside. When olive oil has cooled, set aside for future use or discard.
In a large pot, bring water to a boil and season with salt. Cook pasta to al dente directions and reserve ¼ cup pasta water.
Meanwhile, in large sauté pan over medium-low heat, render pancetta until most of the fat melts and meat is crispy, about 8 to 10 minutes. Add garlic and red pepper flakes; sauté until softened, about 3 to 4 minutes. Increase heat to medium-high, mix in lemon juice, remaining lemon zest, olives, parsley and season with black pepper; sauté until warmed through, about 2 to 3 minutes. Mix in cold butter until melted, it will create a silky sauce.
Drain pasta directly into sauté pan and add just enough pasta water to create a sauce, toss together until warmed through.
Garnish with crispy lemon breadcrumbs, flaky sea salt and parsley. Serve immediately.
Confetti Christmas Shortbread Cookies /
by Judy Kim
Confetti Christmas Shortbread Cookies
Yield: Approximately 50 (2 1/2-inch) cookies
Happy Holidays! This is a tender sweet and salty shortbread cookie that has incredible texture. The toasted walnut and almond topping combined with sparkling sugar adds just the right amount of crunch and glitz. Wishing you a wonderful Holiday Season. But don't limit these cookies to the month of December, try different shapes to enjoy them any time of the year.
INGREDIENTS
1/2 pound (2 sticks) unsalted butter, at room temperature
1/4 cup packed light brown sugar
1/4 cup granulated sugar
1 teaspoon flaky sea salt, plus extra for sprinkling, such as Jacobsen Salt Co.
1 egg, room temperature
2 1/2 cups all-purpose flour, extra for rolling
1/4 cup roughly chopped walnuts
1/4 cup roughly chopped almonds
Assorted sparkling sugar, I used pink and white
Your favorite holiday cookie cutter
DIRECTIONS
In the bowl of a stand mixer fitted with a paddle attachment add butter and beat on high until pale in color, about 30 seconds. Add brown sugar, granulated sugar and sea salt. Start on low and increase speed to high; beat until light and fluffy. Add egg and mix until incorporated. Scrape down sides with a rubber spatula and don't miss the very bottom.
With the mixer on low, add flour in 3 increments; scraping in between in addition. Careful not to overmix or you'll get a tough dough. Cookie mixture will be a bit crumbly. Divide cookie dough in half and wrap each half with plastic wrap and shape into a flat disk. I even like to roll the dough in the plastic to make it even, which will make it easier to roll later. Let dough rest in fridge for 5 to 10 minutes.
Meanwhile, preheat oven to 350°F. Prepare 2 rimmed sheet pans with parchment paper.
In a dry large sized skillet on medium-low heat, toast walnuts and almonds until fragrant. Shake pan to prevent nuts from burning. Transfer to a plate until cool to the touch. Place nuts in a plastic bag and gently crush nuts with a rolling pin into small pieces. To protect your counter, place the bag on a folded kitchen towel. Transfer to a bowl.
Lightly flour your counter and rolling pin. Roll cookie dough into 1/4-inch thickness. Using a bench scraper loosen and lift the dough; lightly flour the counter again. This will make it easier to remove the cookies after cutting them out.
While dipping your cookie cutter in flour, cut out cookies placing them as close together as possible. Dip the cutters in flour as needed. Gather leftover scraps and re-roll to cut out remaining dough. Transfer cookies to sheet pans; top with crushed nuts and sprinkle your color choice of sparkling sugar. Bake for 8 to 10 minutes. Immediately sprinkle with flaky sea salt and transfer to a cooling rack.
NOTES:
You can make this dough in advance and keep in the fridge. Bring dough to room temperature before baking for best results.
Since the dough is crumbly and soft, I suggest to use a simple cookie cutter shape without too many tiny details as the dough may get stuck. I used a Christmas Tree shape, but you can use a cutter for any year round holiday. Originally I tried an oversized detailed tree shape and the size made it difficult to transfer without falling apart.
When decorating the cookies, I used white sparkling sugar at the top and mixed the pink and white sugar over the nuts to help create texture and sparkle.
Sea Salt Chocolate Chocolate Chip Cookie /
by Judy Kim
Sea Salt Chocolate Chocolate Chip Cookie
Yield: Approximately 25 large (4-inch) cookies or 38 medium (3-inch) cookies
The ultimate chocolate chocolate chip cookie. Thin, crispy yet chewy and completely addicting.
These cookies were made for Natalie Mortimer and Holly Erickson, The Modern Proper's #calmandbrightcookienight. Check out their Coconut Thumbprint Cookie and the full roster of other amazing bakers that participated.
INGREDIENTS
Coconut oil spray
1/2 pound (2 sticks) unsalted butter, at room temperature
1 1/2 cups packed light brown sugar
1/4 cup granulated sugar
1 teaspoon pure vanilla extract
1 large egg, at room temperature
1 cup all-purpose flour
½ cup unsweetened cocoa powder, such as Guittard
1 teaspoon baking soda
1 teaspoon flaky sea salt, such as Jacobsen
1 cup semi-sweet chocolate chips or wafers, such as Guittard Akoma semi-sweet chocolate chips or Guittard Bittersweet Chocolate Wafers
DIRECTIONS
Preheat oven to 350°F. Prepare 2, preferably 3 half sheet pans with a light coating of coconut oil, or your favorite cooking spray. Do not use parchment paper or the cookies won't spread properly.
Add butter, brown sugar and granulated sugar to the bowl of a stand mixer fitted with a paddle attachment. Start on low, increase speed to high and beat until light in color and creamy, about 3 to 4 minutes. Scrape down sides with a rubber spatula as needed. Add vanilla and egg, one at a time until combined. Place bowl in fridge to chill for 30 minutes or wrap well in plastic and chill overnight.
In a medium bowl whisk together flour, cocoa powder, baking soda and sea salt. Add flour mixture in 4 increments and mix on low; scrape the bowl as needed. After 3rd addition of flour, fold remaining flour mixture by hand until just combined. Do not over mix. Fold chocolate chips in by hand.
For 4-inch cookies, use a small cookie scoop or spoon about 2 tablespoons of dough on to a greased half sheet pan 2-inches apart. Do not use parchment as the cookies will not spread evenly. Place maximum of 6 cookies per half sheet pan, but I prefer 5 to avoid the cookies from crowding each other. Bake for 8 to 10 minutes. For 3-inch cookies, use a 1 tablespoon scoop and place 8 cookies evenly spaced on a half sheet pan. Timing is important for this cookie. Check oven temperature with a thermometer, test a single cookie to determine the right timing and see if your oven requires you to rotate the pan. Center about the size of a quarter should be slightly undercooked and remaining outer edges should spread into rings. This ensures a chewy yet crunchy cookie.
Remove sheet pan from oven and cool for a few minutes before transferring cookies to a cooling rack. Optional to sprinkle cookies with sea salt right after removing from the oven. Repeat steps for additional batches, but cool sheet pans before adding cookie dough.
NOTES:
Cookie dough can be made in advance. Keep in the fridge well wrapped or freeze individual cookie dough balls and place in a plastic bag after frozen; remove as much air from the bag as possible. Bring dough to room temperature before baking for best results. Baking frozen dough will still taste great, but the overall baked cookie appearance may vary slightly.
If you don't have a silicone spatula, try spraying your spatula with oil to make it easier to handle the cookies.
*recipe updated Dec 2018
Apple Cardamom Cable Knit Pie /
by Judy Kim
Apple Cardamom Cable Knit Pie
Yield: 1 (9-inch) Pie
This cable knit design was inspired by Aran Irish Sweaters, something I learned about during my first job as a design assistant at Ralph Lauren when I worked in Men’s sweaters. Not surprising as we used to make knit downs of cable knit designs all day long, always looking for new combinations. I use a similar approach when designing this pie crust.
INGREDIENTS
1 egg
1 tablespoon heavy cream
1 double crust, buttermilk pie crust recipe
3 tablespoons all-purpose flour, plus additional for rolling pastry
2 meyer lemons, zested and juiced
1/2 cup sugar
1 teaspoon flaky sea salt, such as Jacobsen
1 teaspoon ground cardamom
1/2 teaspoon ground cinnamon
1 teaspoon vanilla extract
6 (about 3 1/2 pounds) medium Granny Smith apples, peeled, cored and thinly sliced on mandolin
2 tablespoons unsalted butter, cut into 1/4-inch cubes and frozen
DIRECTIONS
Place Baking Steel on the middle rack of your oven. Preheat oven 425°F. The pizza stone ensures a crispy bottom crust. Preferably preheat oven for 30 to 60 minutes. In a small bowl beat egg with heavy cream; set aside.
Prepare the buttermilk pie crust recipe, cut into one third and two thirds ratio, wrap each piece in plastic wrap. Shape smaller piece into a flat round disk and shape other half into a narrow flat rectangle. Let dough rest 20 minutes or overnight in refrigerator. Note: This dough makes more dough than average recipes, great for decorative pie crusts.
Let the dough come to room temperature for 5 minutes before rolling out to prevent cracking. On a lightly floured surface, roll out round disk to thickness between 1/8-inch and 1/4-inch. Keep dough moving and apply flour as needed to prevent it from sticking. Gently roll onto rolling pin and transfer to pie dish. Trim with scissors or a knife along the rim leaving a 1/2-inch border. Note: Be careful not to stretch the dough or it will shrink back.
Cut second rectangular pie dough in half lengthwise. Roll one half (Dough A) to 9-inches in length and 1/4-inch thick. Roll remaining dough (Dough B) to 9-inches in length and 1/8-inch thickness. Work quickly to prevent the dough from getting warm. If needed, place them in the fridge to firm up during the process.
Dough A: Use a ruler to cut long even strips. For a square edge braid, cut into 1/4-inch strips with a sharp paring knife. Braid together keeping both ends loose; transfer to a sheet pan. For rounded edge braid, cut dough into six 1/4-inch strips and roll against floured board to round edges. Repeat braiding technique and transfer to the sheet pan, keep in the fridge while you roll the remaining dough. Separate layers with parchment if needed. Dough B: Cut four 1-inch strips. Loosely twist 2 pieces together to create a cable knit effect and repeat; transfer to the same sheet pan. Cut three diamonds from any leftover dough and score with a knife in a diagonal direction. Roll four balls of dough and flatten slightly to create 4 small buttons; score with a curved fork to mimic a leather football button. (Fashion is clearly still in me). Transfer sheet pan back to the fridge. NOTE: If you are having trouble with the dough breaking while braiding, the butter pieces may be too large or the dough is too warm. For decorative pies, I formulated a pie crust that is ideal and hopefully breakage won’t be an issue.
In a large mixing bowl, combine zest of 2 Meyer lemons, 3 tablespoons Meyer lemon juice, sugar, sea salt, cardamom, cinnamon and vanilla extract. Fold in apples until well coated; sprinkle 3 tablespoons flour and toss again. Transfer apple mixture into pie dish, try to keep the mixture even. Scatter frozen butter cubes evenly all over the apples.
Remove sheet pan with pastry from the fridge. Start in the middle and place cable knit pieces tightly next to each other. Try to avoid large gaps between pastry. Trim pieces to fit within the pie dish. Fold edge of pie inward neatly and crimp together by pinching. Chill in freezer or fridge for 15 minutes.
Brush evenly with light coating of egg wash and cover loosely with foil. Adjust oven to 425°F, gently place pie dish directly onto Baking Steel or pizza stone and bake for 20 minutes. Reduce temperature to 375°F, remove foil and bake until filling is bubbling and crust is golden brown, about 1 hour more. If necessary, rotate the pie for even baking. For best results, let pie cool for 4 to 6 hours before serving.
Note:
You can use leftover dough for decorative cut outs. Roll dough to 1/8-inch thickness. Dip pie cutters or cookie cutters in flour and cut out shapes. Lay them evenly on a quarter sheet pan and layer using parchment paper. I didn't use any cut outs for this cable knit design, but you can keep these in the freezer for a future use. Suggestion: Bake and add them to a bowl of ice cream or berries and cream.
Scalloped Potatoes with Chives /
DELISH
Read MorePeppermint Bark Skillet Cookie /
by Judy Kim
Peppermint Bark Skillet Cookie
Yield: 8 servings
INGREDIENTS
1/2 cup unsalted butter (1 stick), room temperature
1/2 cup sugar
1/2 cup packed dark brown sugar
1 teaspoon pure vanilla extract
1 large egg, room temperature
1 cup all-purpose flour, sifted
1/2 teaspoon baking soda
1/2 teaspoon salt
1 cup chopped Williams Sonoma Peppermint Bark
1/2 cup chopped walnuts
DIRECTIONS
Preheat oven to 350°F. Butter 12" cast iron pan with 1 tablespoon butter.
Cream balance of butter and sugars with a hand held mixer or stand mixer fitted with paddle attachment 1-2 minutes. Add in vanilla and egg till mixed. In medium bowl, sift together flour and baking soda, then add salt.
With mixer on low, gradually add flour mixture to wet ingredients and blend till just incorporated. Scrape down side of bowl with a rubber spatula. Do not overmix. Fold in peppermint bark and walnuts, mix by hand.
Transfer cookie dough to prepared cast iron pan. Smooth top with spatula.
Bake until golden brown and center is still slightly undone, 18-20 minutes. If you prefer a crisper cookie, add 2-3 minutes. Transfer to cooling rack.
Serving suggestion: If you want an extra layer of chocolate, drizzle chocolate on top of cookie. Heat 1/4 cup of bittersweet chocolate chips in a double boiler. Place cast iron pan on parchment or paper towels for easy clean up. Using a fork, quickly wave over cookie back and forth to create a fine drizzle. •• Cookie dough can be prepared in advance, wrapped in plastic and kept in the fridge for 2-3 days.